-
keyboard_arrow_right keyboard_arrow_down
-
keyboard_arrow_right keyboard_arrow_down
-
keyboard_arrow_right keyboard_arrow_down
-
-
-
keyboard_arrow_right keyboard_arrow_down
-
keyboard_arrow_right keyboard_arrow_down
-
keyboard_arrow_right keyboard_arrow_down
-
keyboard_arrow_right keyboard_arrow_down
-
keyboard_arrow_right keyboard_arrow_down
-
keyboard_arrow_right keyboard_arrow_down
-
keyboard_arrow_right keyboard_arrow_down
-
keyboard_arrow_right keyboard_arrow_down
-
keyboard_arrow_right keyboard_arrow_down
-
keyboard_arrow_right keyboard_arrow_down
-
keyboard_arrow_right keyboard_arrow_down
-
keyboard_arrow_right keyboard_arrow_down
-
keyboard_arrow_right keyboard_arrow_down
-
keyboard_arrow_right keyboard_arrow_down
-
keyboard_arrow_right keyboard_arrow_down
-
keyboard_arrow_right keyboard_arrow_down
-
keyboard_arrow_right keyboard_arrow_down
-
keyboard_arrow_right keyboard_arrow_down
-
-
keyboard_arrow_right keyboard_arrow_down
-
keyboard_arrow_right keyboard_arrow_down
-
keyboard_arrow_right keyboard_arrow_down
-
keyboard_arrow_right keyboard_arrow_down
-
keyboard_arrow_right keyboard_arrow_down
-
keyboard_arrow_right keyboard_arrow_down
-
keyboard_arrow_right keyboard_arrow_down
-
keyboard_arrow_right keyboard_arrow_down
-
keyboard_arrow_right keyboard_arrow_down
-
-
-
keyboard_arrow_right keyboard_arrow_down
-
keyboard_arrow_right keyboard_arrow_down
-
keyboard_arrow_right keyboard_arrow_down
-
keyboard_arrow_right keyboard_arrow_down
-
-
-
keyboard_arrow_right keyboard_arrow_down
-
keyboard_arrow_right keyboard_arrow_down
-
keyboard_arrow_right keyboard_arrow_down
-
-
keyboard_arrow_right keyboard_arrow_down
-
keyboard_arrow_right keyboard_arrow_down
-
keyboard_arrow_right keyboard_arrow_down
-
keyboard_arrow_right keyboard_arrow_down
-
keyboard_arrow_right keyboard_arrow_down
-
-
keyboard_arrow_right keyboard_arrow_down
-
keyboard_arrow_right keyboard_arrow_down
-
keyboard_arrow_right keyboard_arrow_down
-
keyboard_arrow_right keyboard_arrow_down
-
keyboard_arrow_right keyboard_arrow_down
-
keyboard_arrow_right keyboard_arrow_down
-
keyboard_arrow_right keyboard_arrow_down
-
keyboard_arrow_right keyboard_arrow_down
-
keyboard_arrow_right keyboard_arrow_down
-
keyboard_arrow_right keyboard_arrow_down
-
keyboard_arrow_right keyboard_arrow_down
-
keyboard_arrow_right keyboard_arrow_down
-
keyboard_arrow_right keyboard_arrow_down
-
keyboard_arrow_right keyboard_arrow_down
-
-
-
keyboard_arrow_right keyboard_arrow_down
-
keyboard_arrow_right keyboard_arrow_down
-
keyboard_arrow_right keyboard_arrow_down
-
keyboard_arrow_right keyboard_arrow_down
-
keyboard_arrow_right keyboard_arrow_down
-
keyboard_arrow_right keyboard_arrow_down
-
keyboard_arrow_right keyboard_arrow_down
-
keyboard_arrow_right keyboard_arrow_down
-
-
keyboard_arrow_right keyboard_arrow_down
-
keyboard_arrow_right keyboard_arrow_down
-
keyboard_arrow_right keyboard_arrow_down
-
-
keyboard_arrow_right keyboard_arrow_down
-
keyboard_arrow_right keyboard_arrow_down
-
keyboard_arrow_right keyboard_arrow_down
-
keyboard_arrow_right keyboard_arrow_down
-
-
keyboard_arrow_right keyboard_arrow_down
-
keyboard_arrow_right keyboard_arrow_down
-
keyboard_arrow_right keyboard_arrow_down
-
keyboard_arrow_right keyboard_arrow_down
-
keyboard_arrow_right keyboard_arrow_down
-
keyboard_arrow_right keyboard_arrow_down
-
keyboard_arrow_right keyboard_arrow_down
-
keyboard_arrow_right keyboard_arrow_down
-
keyboard_arrow_right keyboard_arrow_down
-
keyboard_arrow_right keyboard_arrow_down
-
keyboard_arrow_right keyboard_arrow_down
-
keyboard_arrow_right keyboard_arrow_down
-
keyboard_arrow_right keyboard_arrow_down
-
keyboard_arrow_right keyboard_arrow_down
-
-
keyboard_arrow_right keyboard_arrow_down
-
keyboard_arrow_right keyboard_arrow_down
-
keyboard_arrow_right keyboard_arrow_down
-
keyboard_arrow_right keyboard_arrow_down
-
keyboard_arrow_right keyboard_arrow_down
-
keyboard_arrow_right keyboard_arrow_down
-
keyboard_arrow_right keyboard_arrow_down
-
keyboard_arrow_right keyboard_arrow_down
-
keyboard_arrow_right keyboard_arrow_down
-
keyboard_arrow_right keyboard_arrow_down
-
keyboard_arrow_right keyboard_arrow_down
-
keyboard_arrow_right keyboard_arrow_down
-
keyboard_arrow_right keyboard_arrow_down
-
keyboard_arrow_right keyboard_arrow_down
-
keyboard_arrow_right keyboard_arrow_down
-
-
keyboard_arrow_right keyboard_arrow_down
-
keyboard_arrow_right keyboard_arrow_down
-
keyboard_arrow_right keyboard_arrow_down
-
keyboard_arrow_right keyboard_arrow_down
-
keyboard_arrow_right keyboard_arrow_down
-
keyboard_arrow_right keyboard_arrow_down
-
keyboard_arrow_right keyboard_arrow_down
-
keyboard_arrow_right keyboard_arrow_down
-
keyboard_arrow_right keyboard_arrow_down
-
keyboard_arrow_right keyboard_arrow_down
-
-
-
keyboard_arrow_right keyboard_arrow_down
-
keyboard_arrow_right keyboard_arrow_down
-
keyboard_arrow_right keyboard_arrow_down
-
keyboard_arrow_right keyboard_arrow_down
-
-
keyboard_arrow_right keyboard_arrow_down
-
-
keyboard_arrow_right keyboard_arrow_down
- Xunison
- Explore Our Products
- Platforms
- Web application
- Registration
Registration
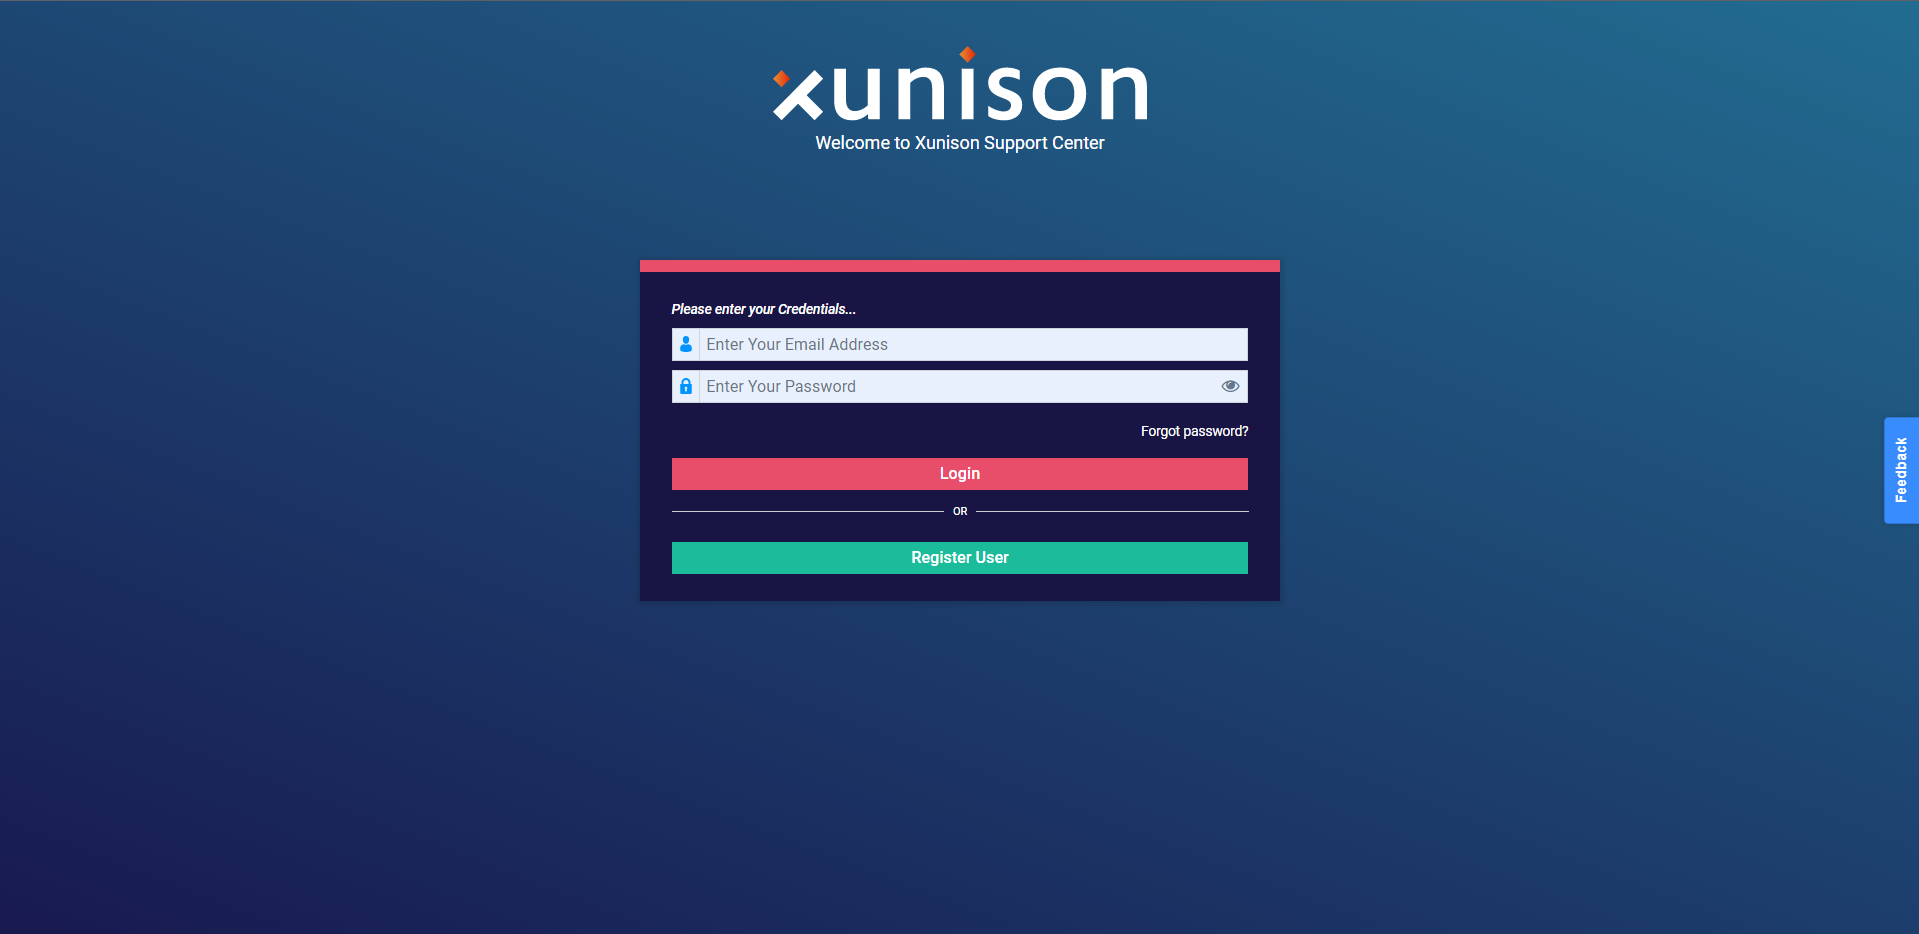
Step 1: Registration
Click on Register User to proceed ahead with the registration on the Xunison Web application.
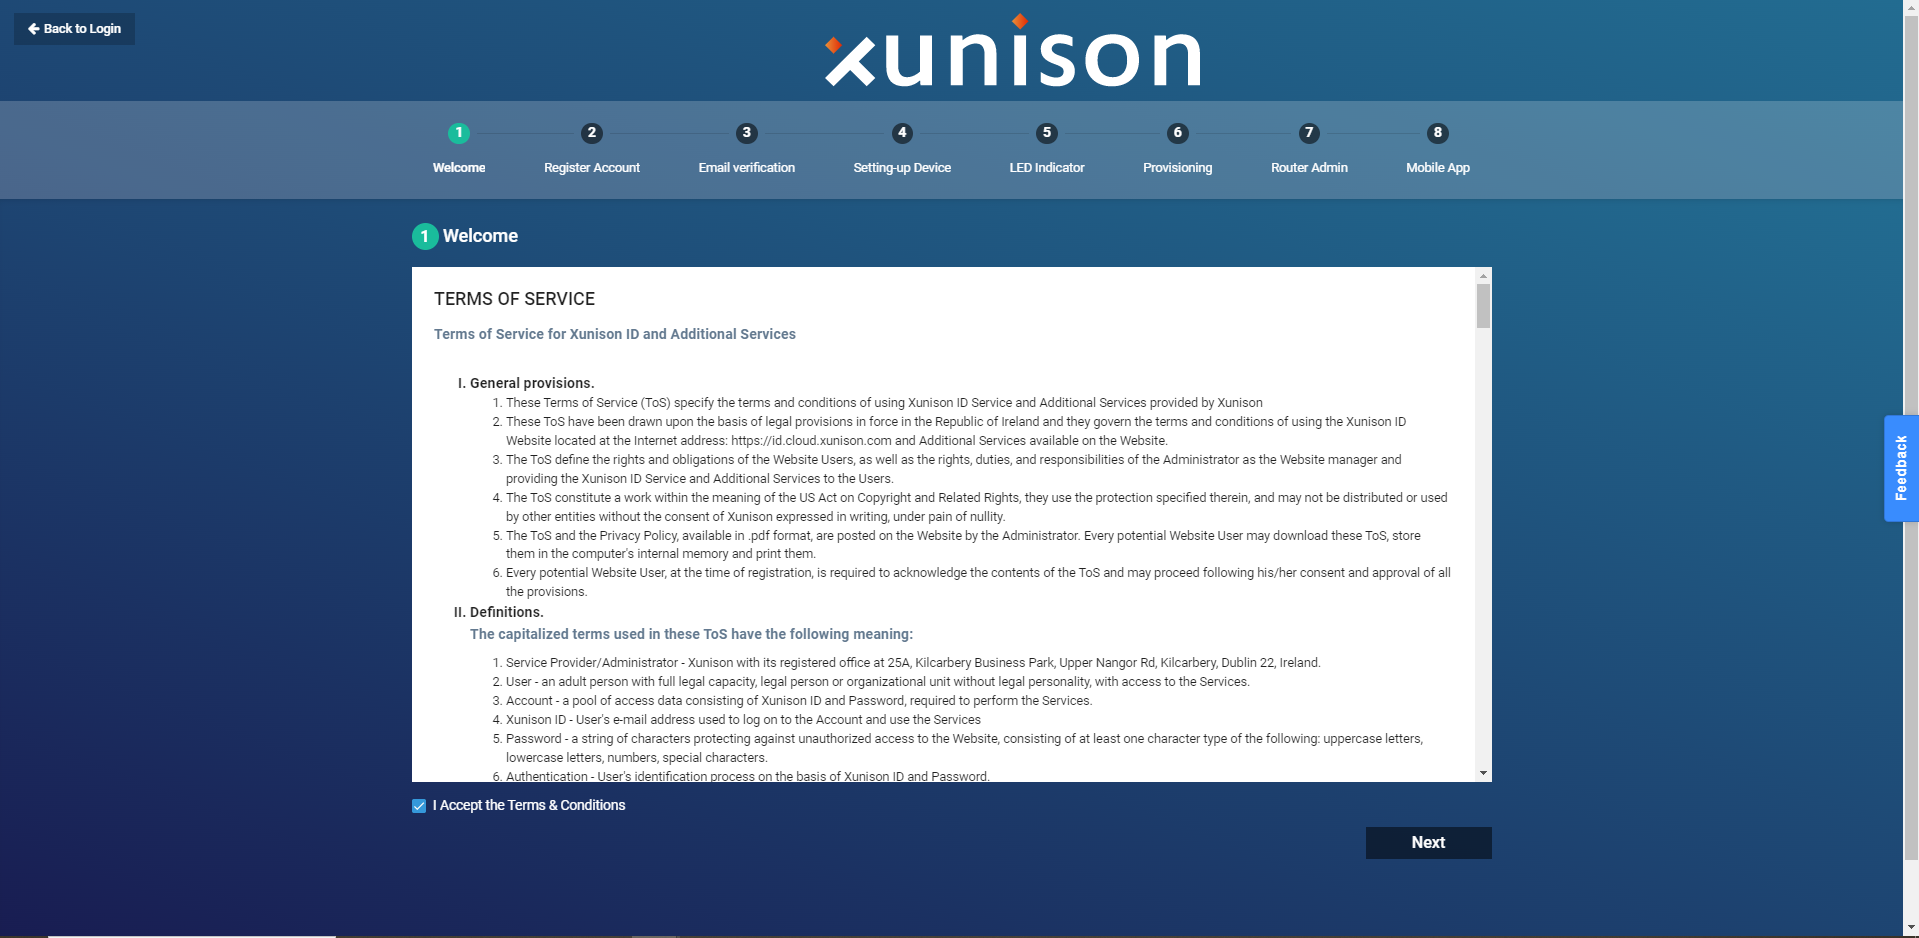
Step 2: Terms and Conditions
Refer to the terms of Service.
Click on I accept the terms and conditions and proceed further by clicking on Next.
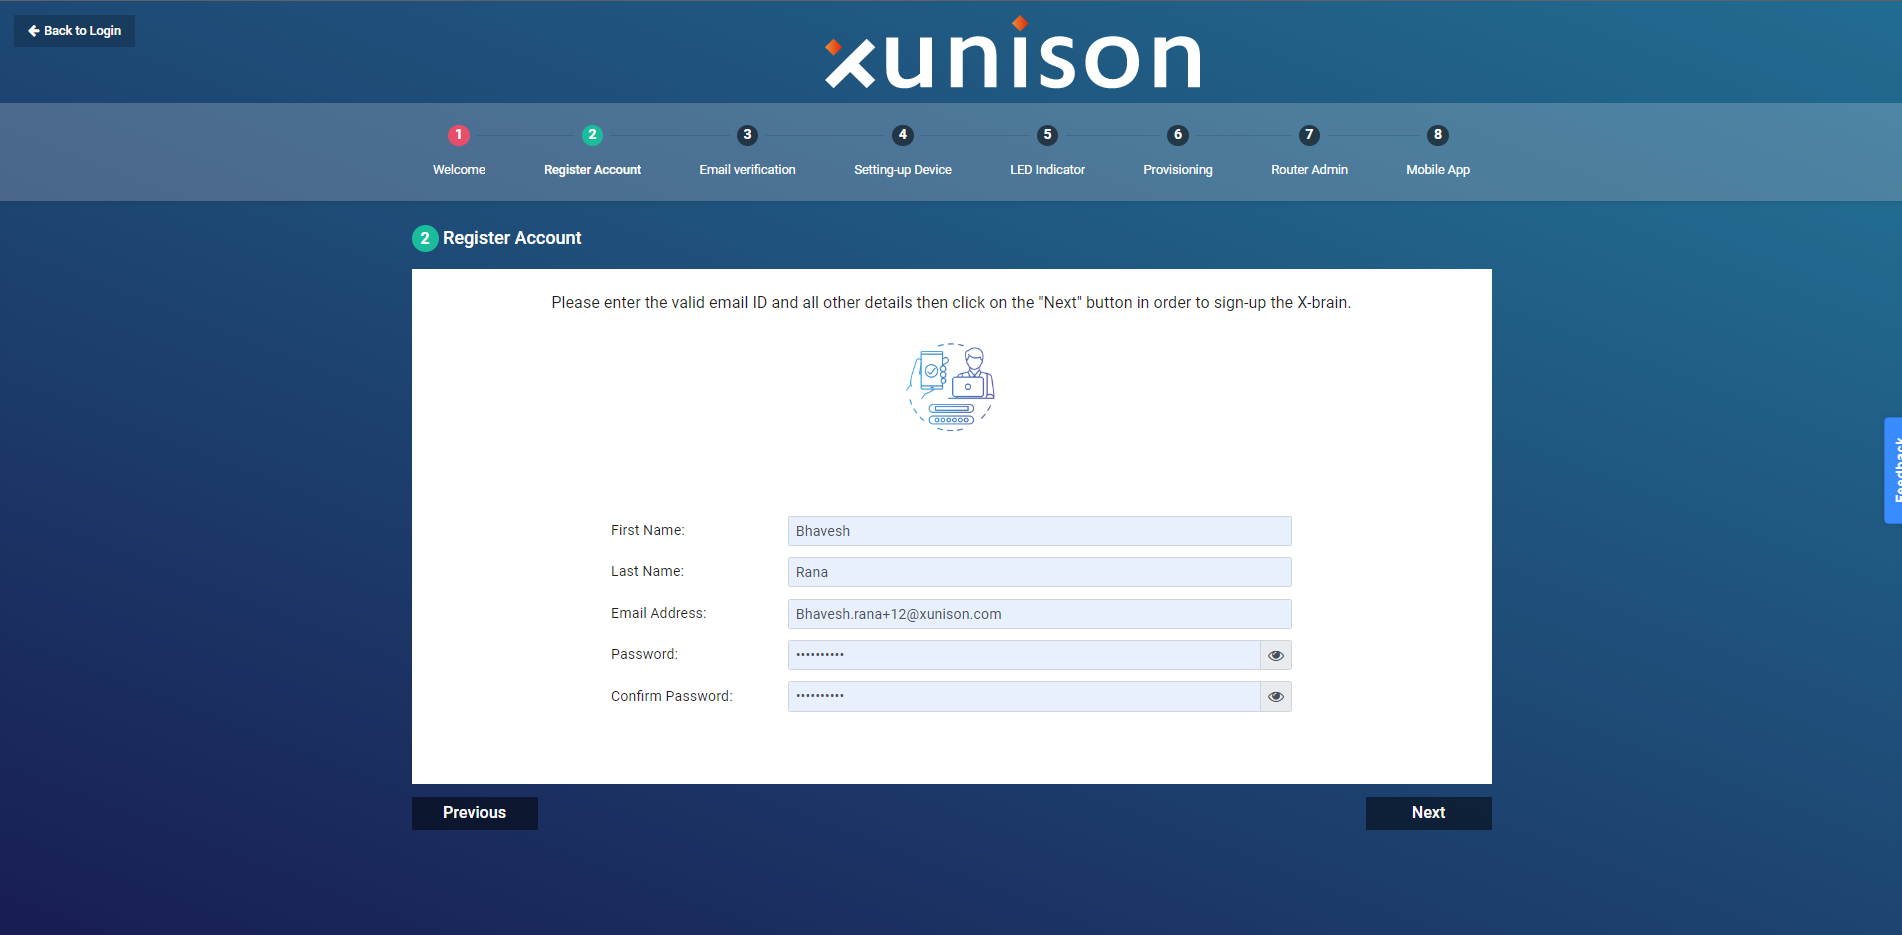
Enter your details
Complete registration by entering the following details: First name, Last name, Email address, Password & Confirm Password as shown below. Click the “Next” button.
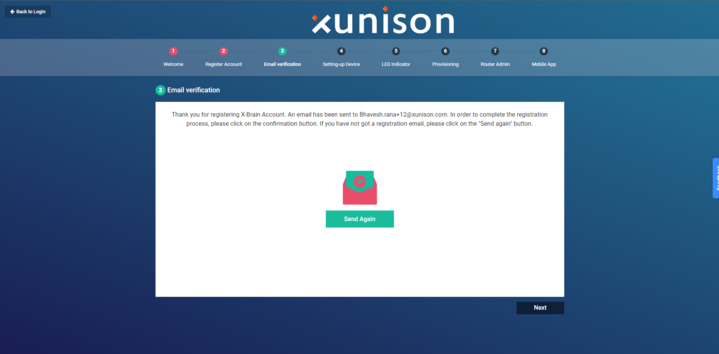
An Email has been sent.
An email has been sent to your registered email address. In order to complete the registration process, click on the confirmation button. If you have not got a registration email then please click on the send again button.
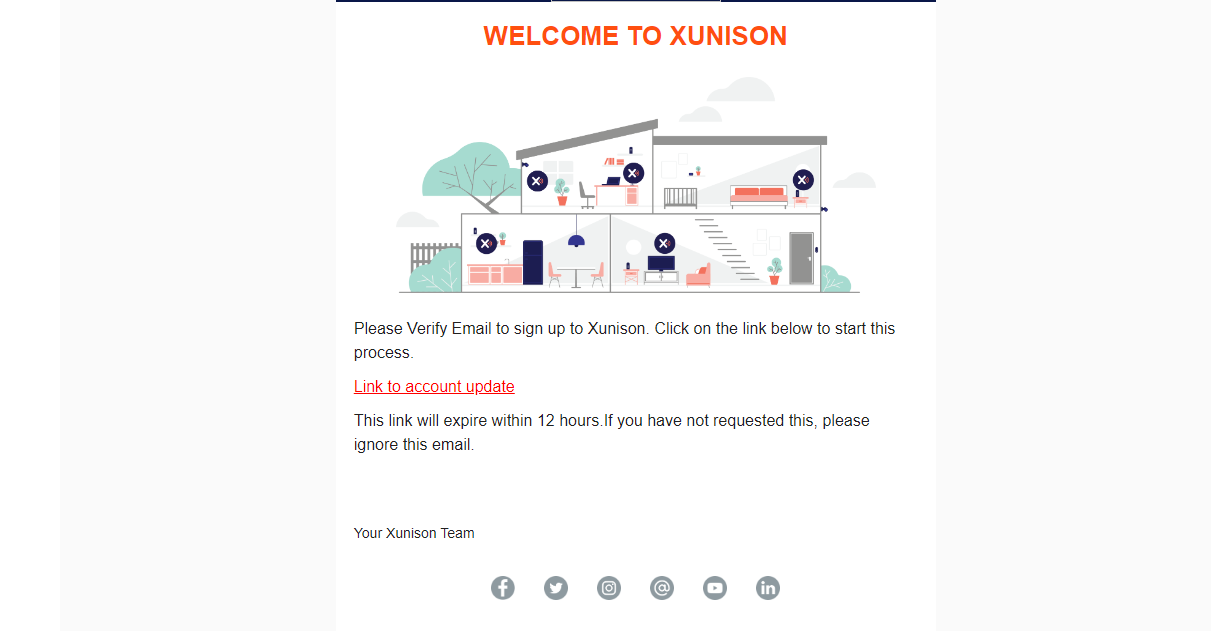
Step 3: Confirmation
An email with a confirmation link is sent to your email address, click on “Link to account update”. This will complete the registration process.
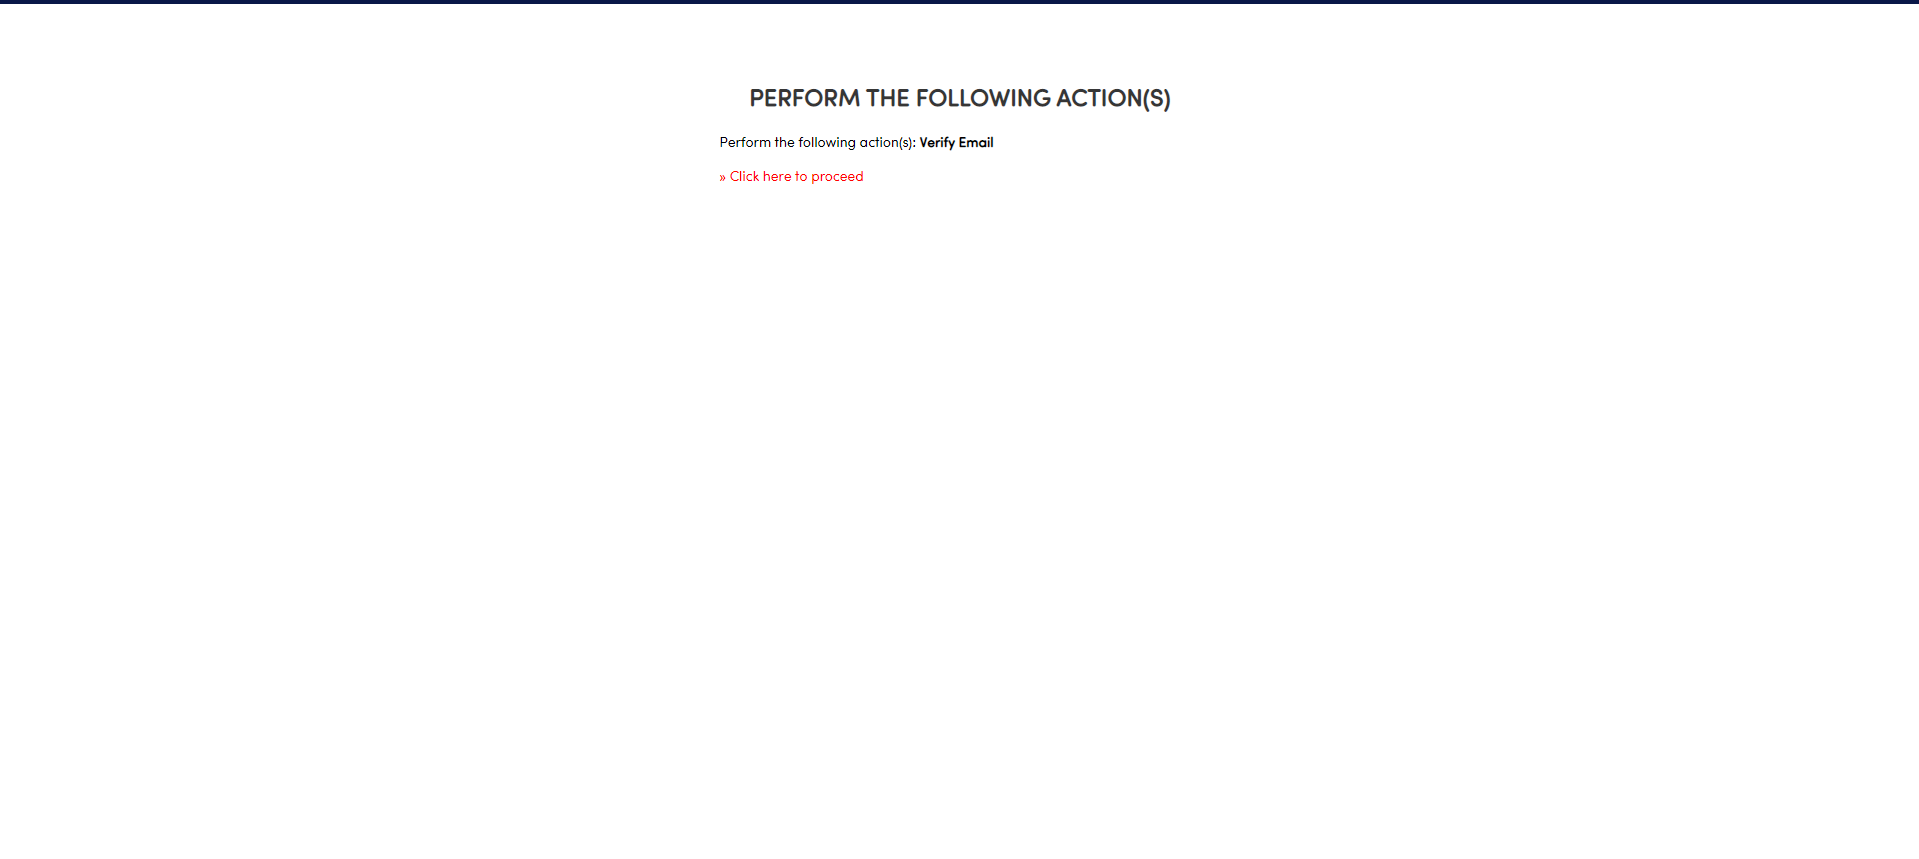
Verify Email
Click on "Click here to proceed" to verify the email.
A message appears on the screen "Your account has been updated".
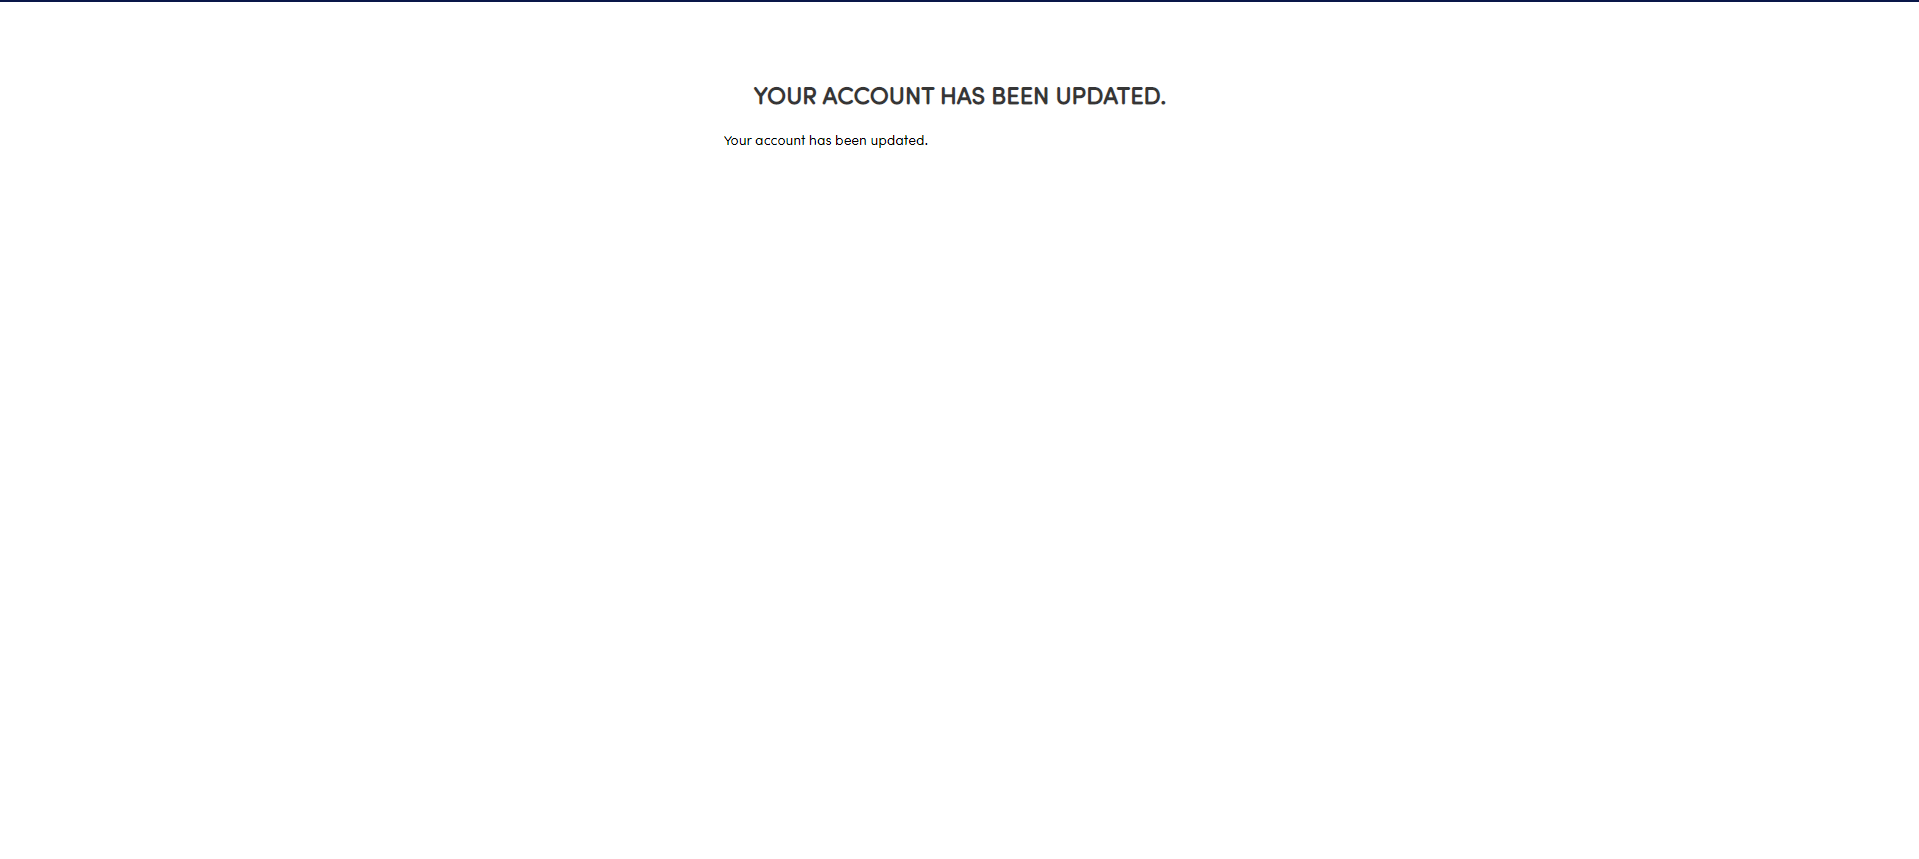
Note: Once you have completed the email verification process, you will be redirected to the setting up the device page.
Provisioning of the Home Gateway
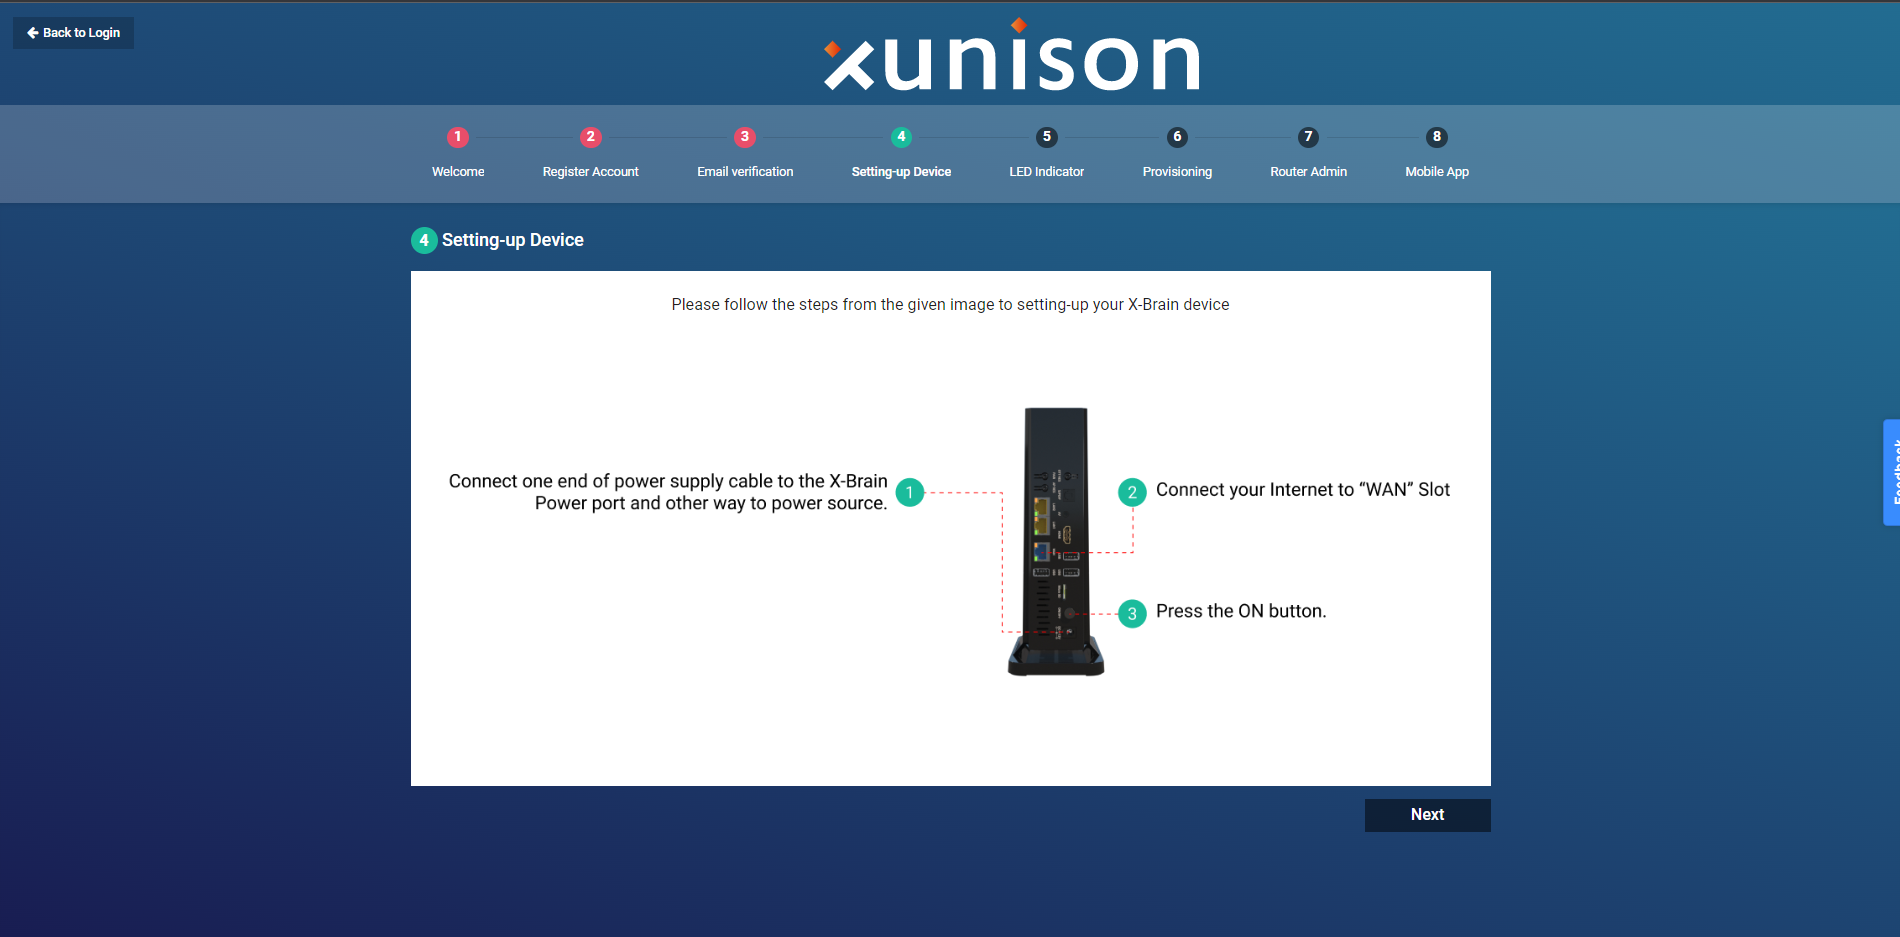
Step 4: Setting Up Device
Please follow the steps mentioned on the screen to set up your device.
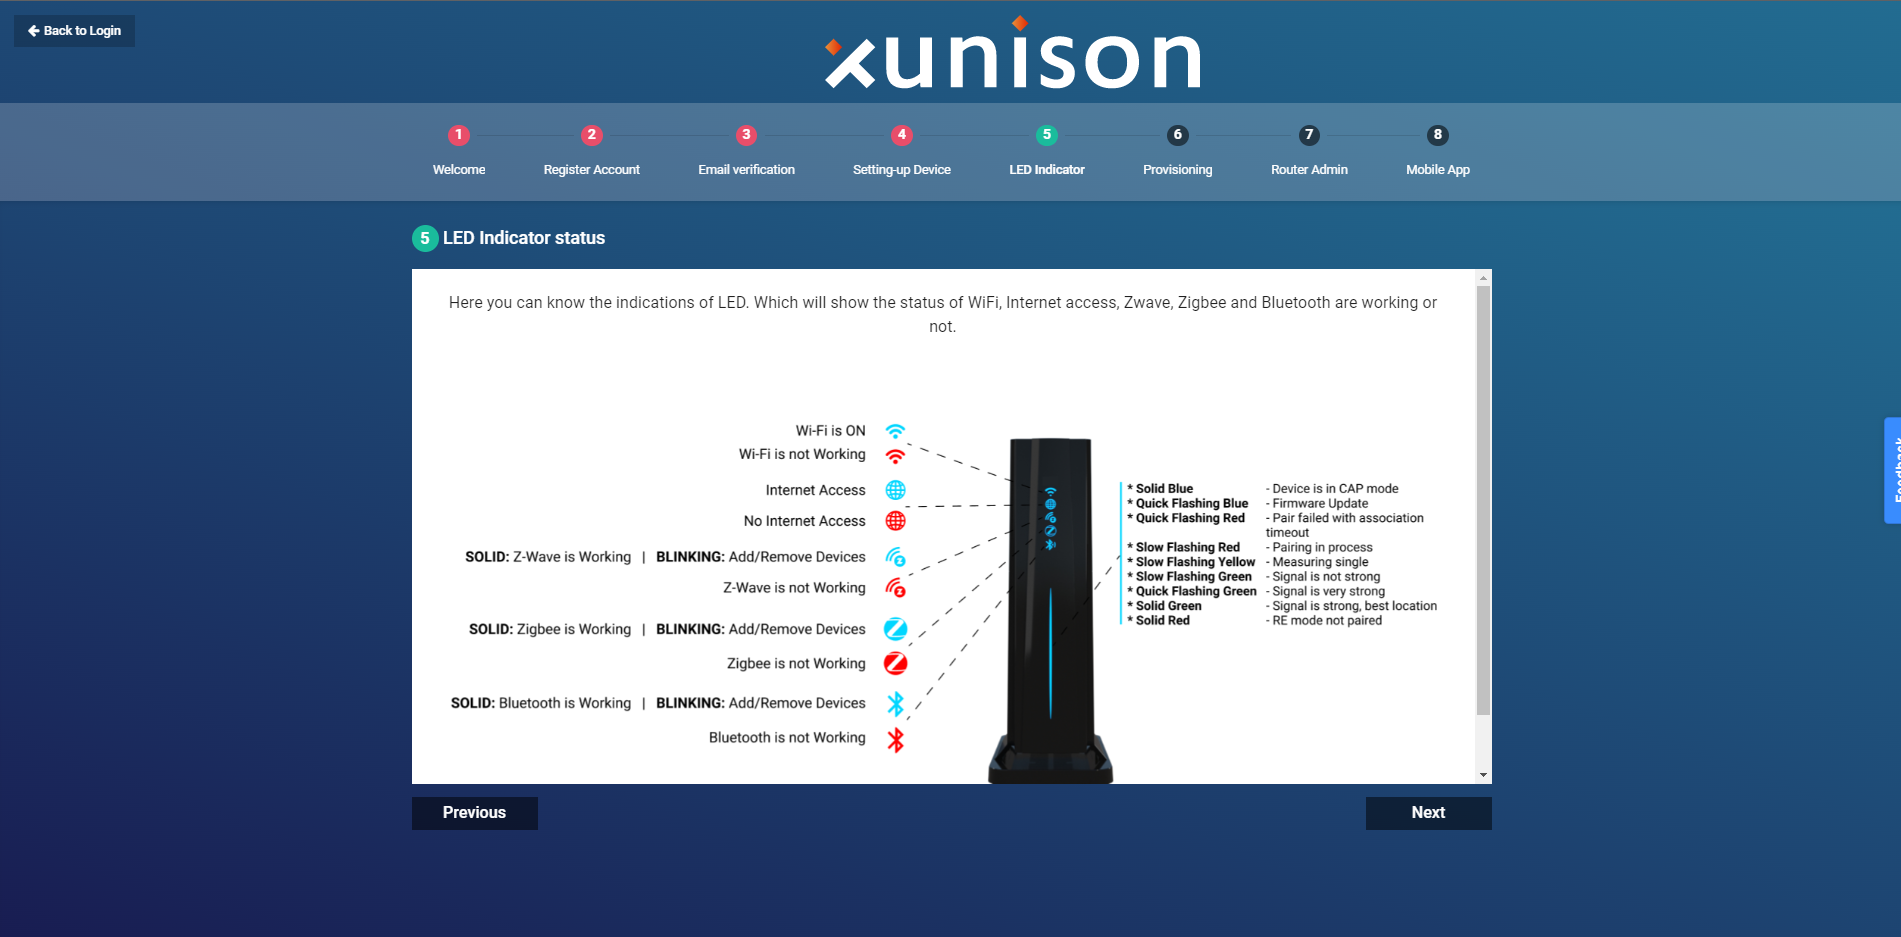
Step 5: Check the LED Indicator status
Check the LED indicators on the device and proceed further by clicking on the Next button.
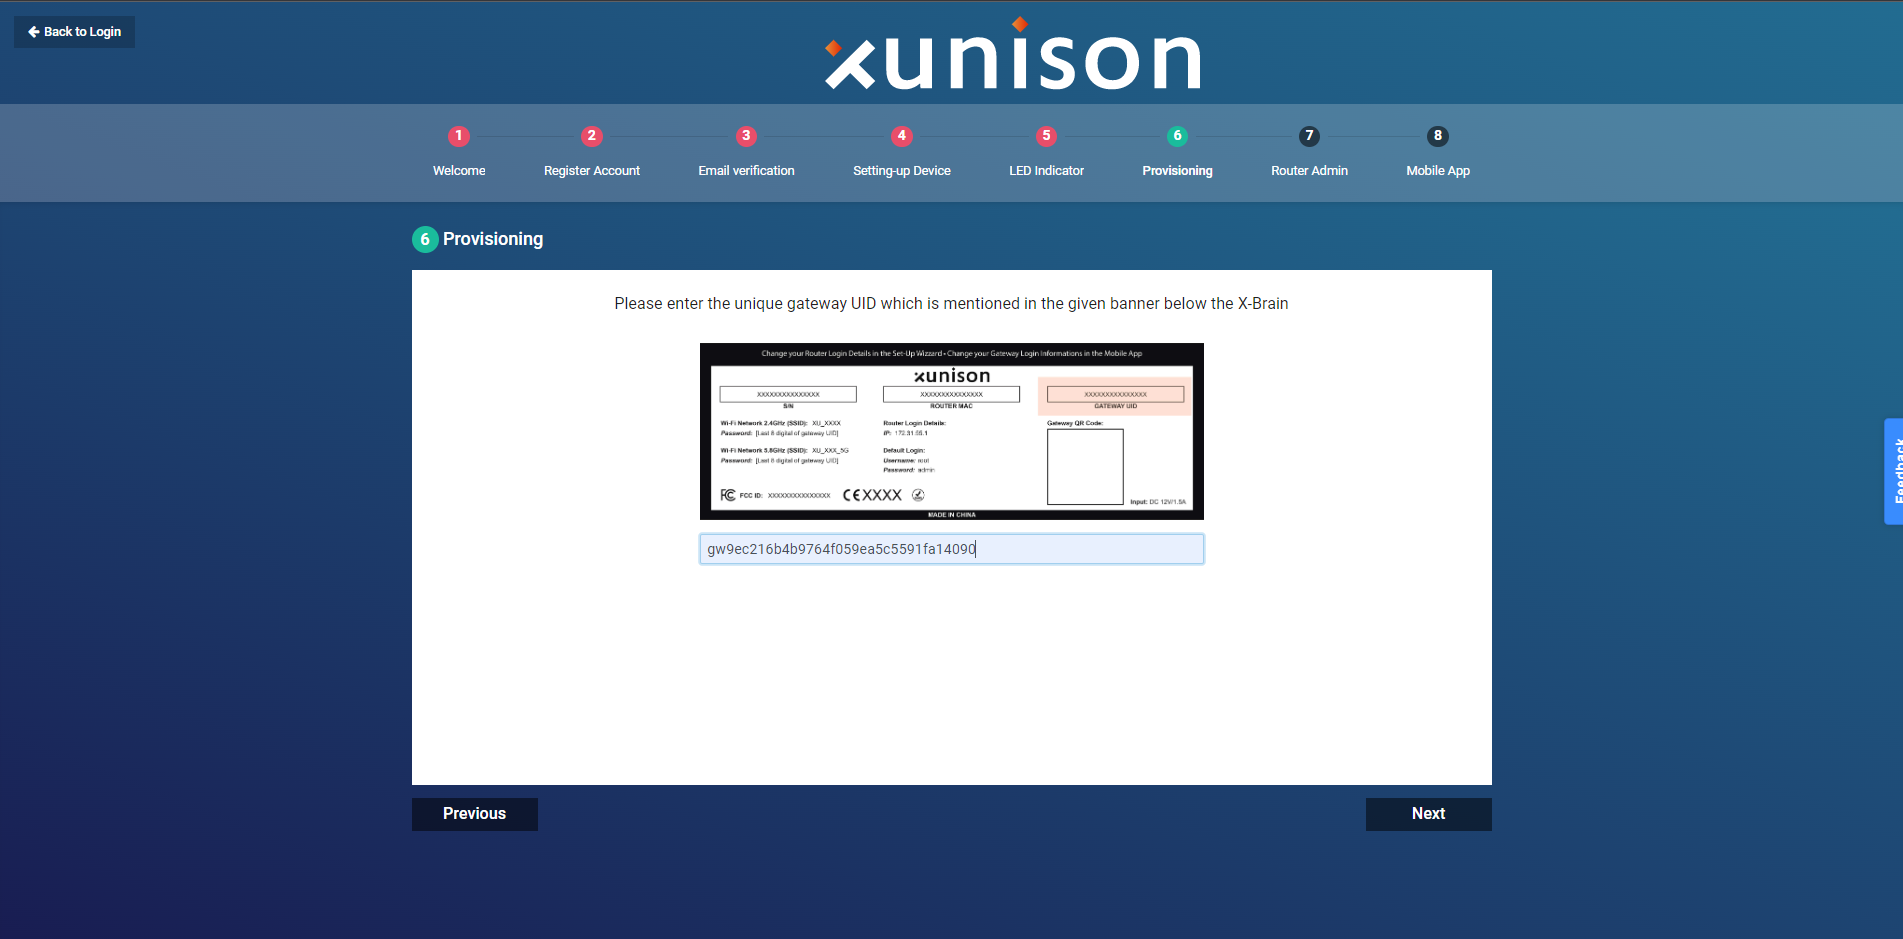
Step 6: Provisioning of the Gateway
Enter the gateway UID which is mentioned below the device.
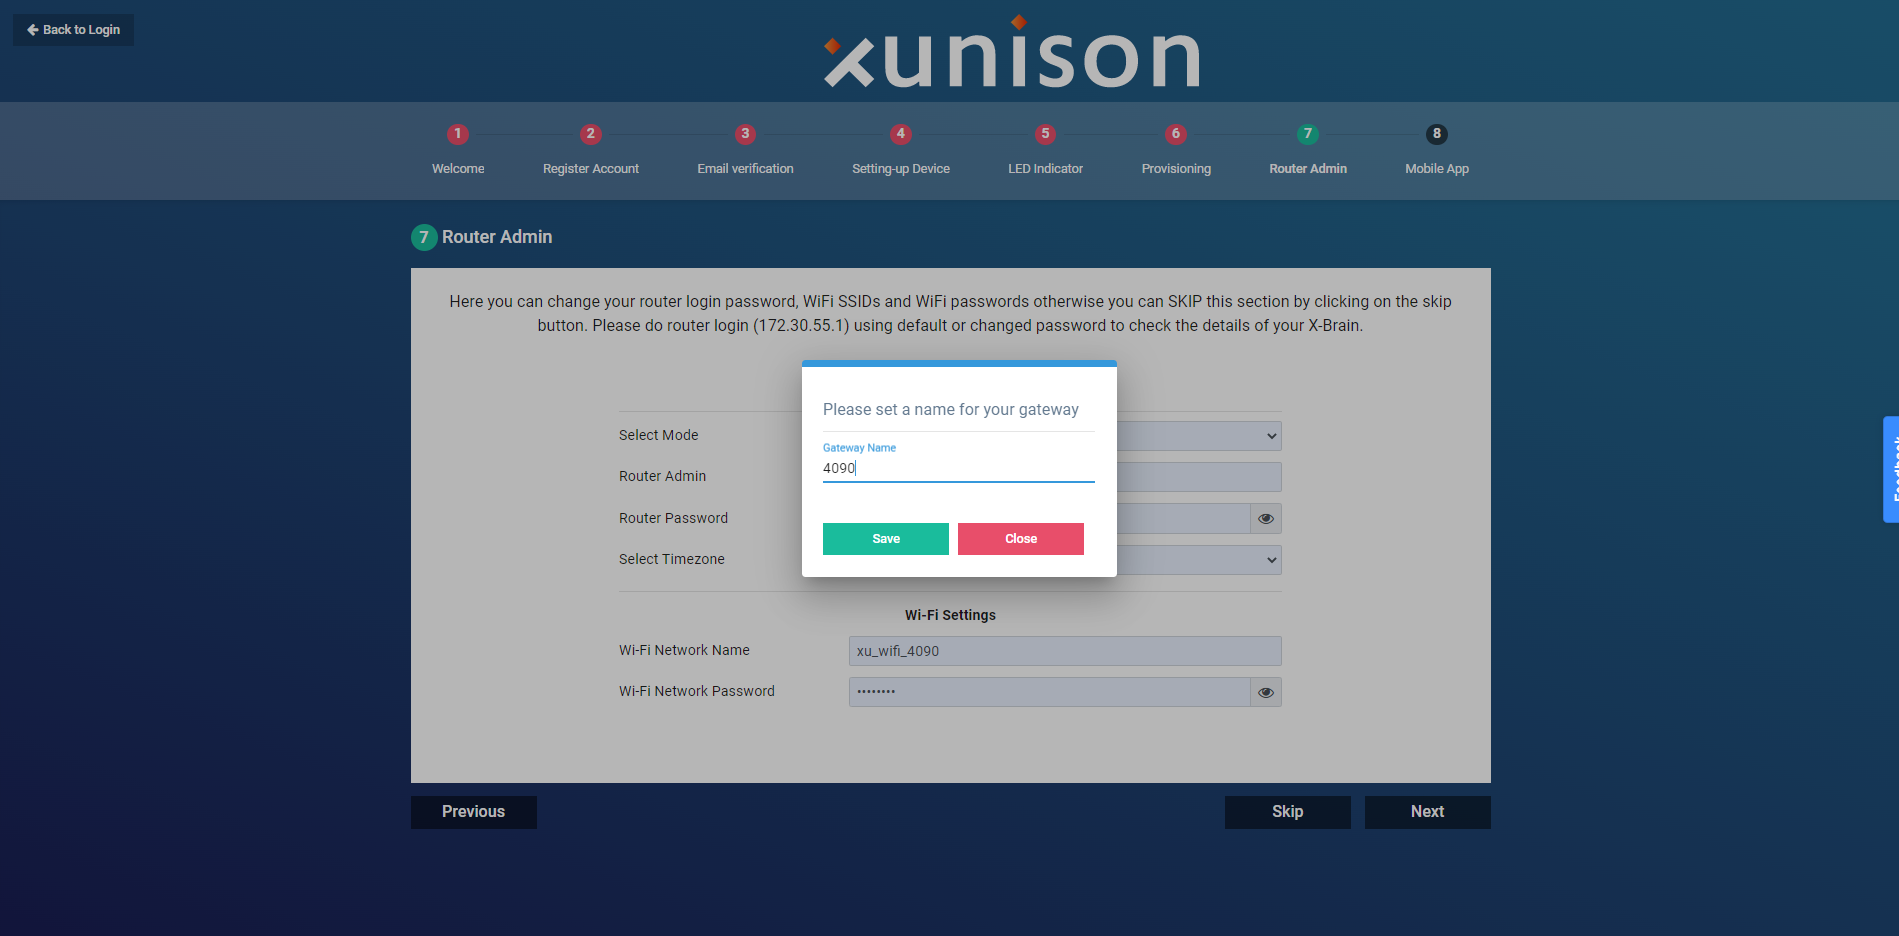
Step 7: Router Admin
The default router information appears on the screen.
Here you can change your router login password, WiFi SSIDs, and WIFI passwords.
You can also SKIP this section by clicking on the Skip button.
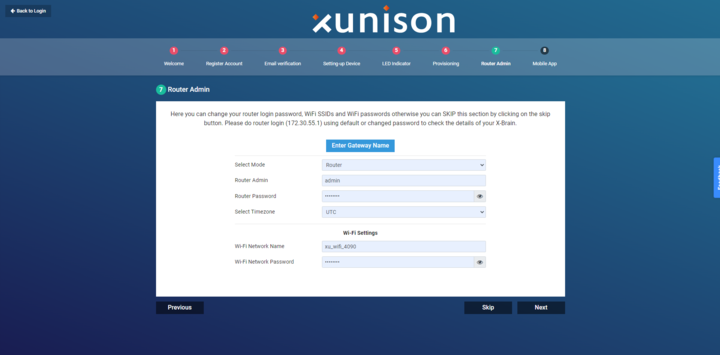
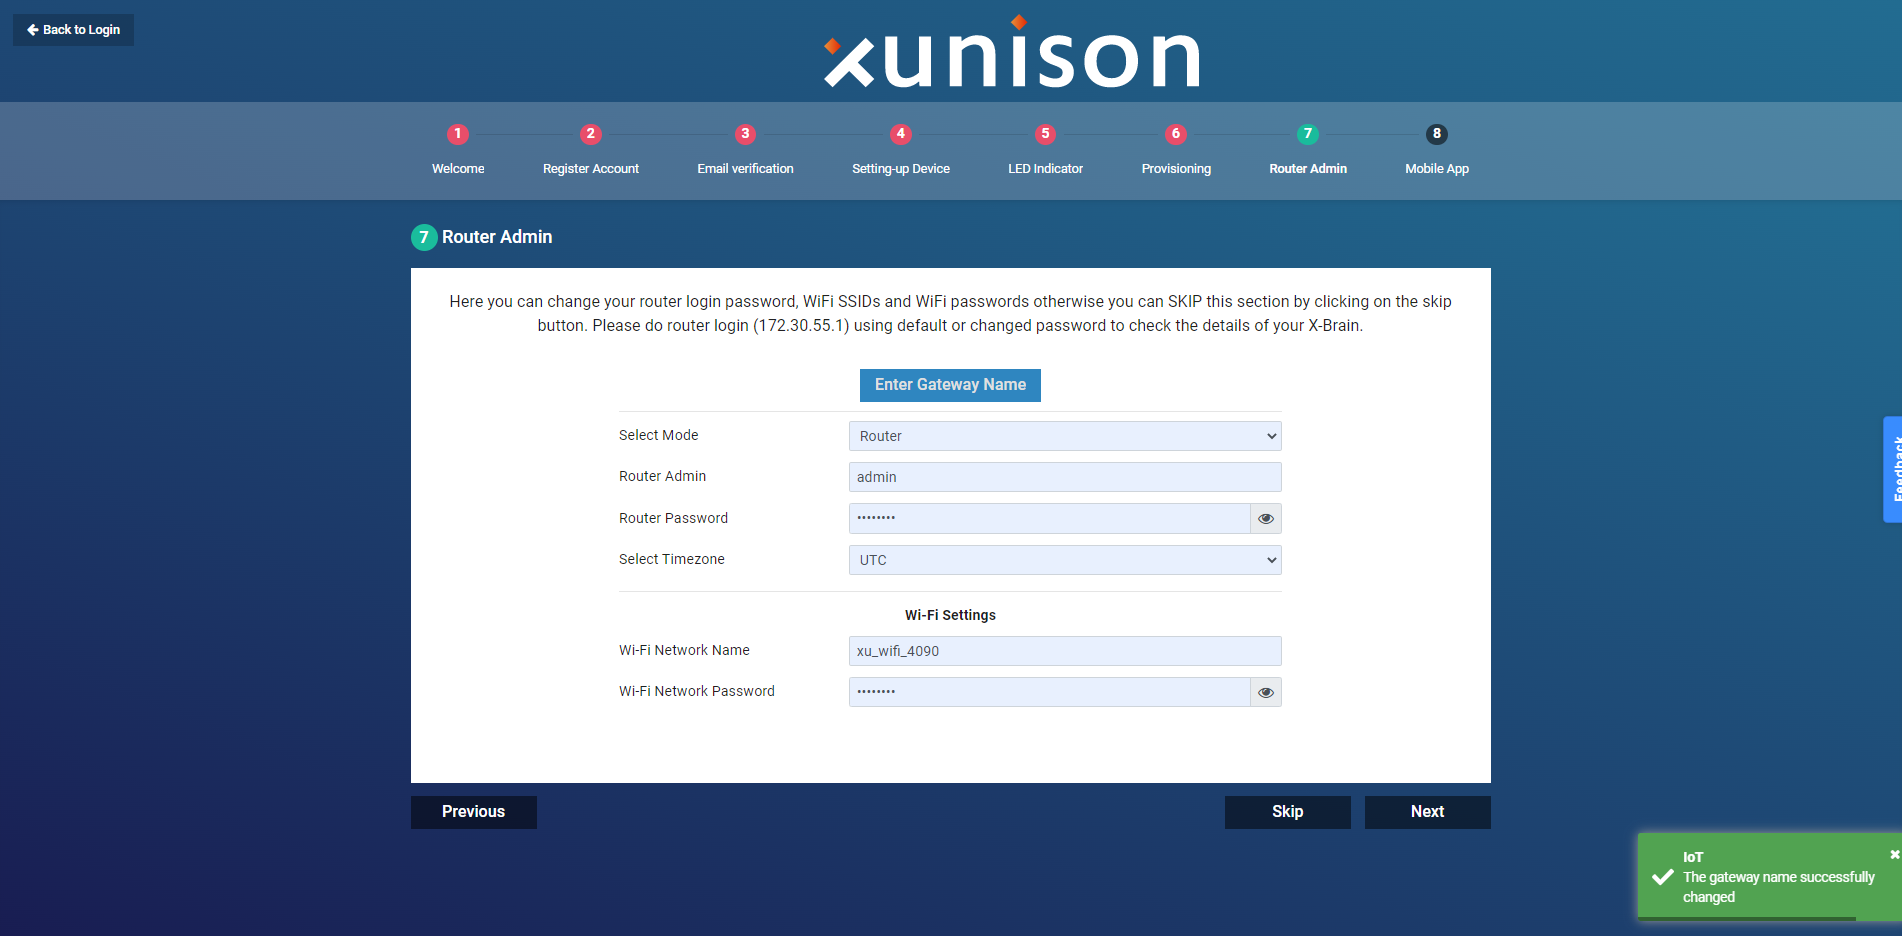
Enter the Gateway name and click on the Save button.
After clicking on the Save button, a message appears "The gateway name has successfully changed".
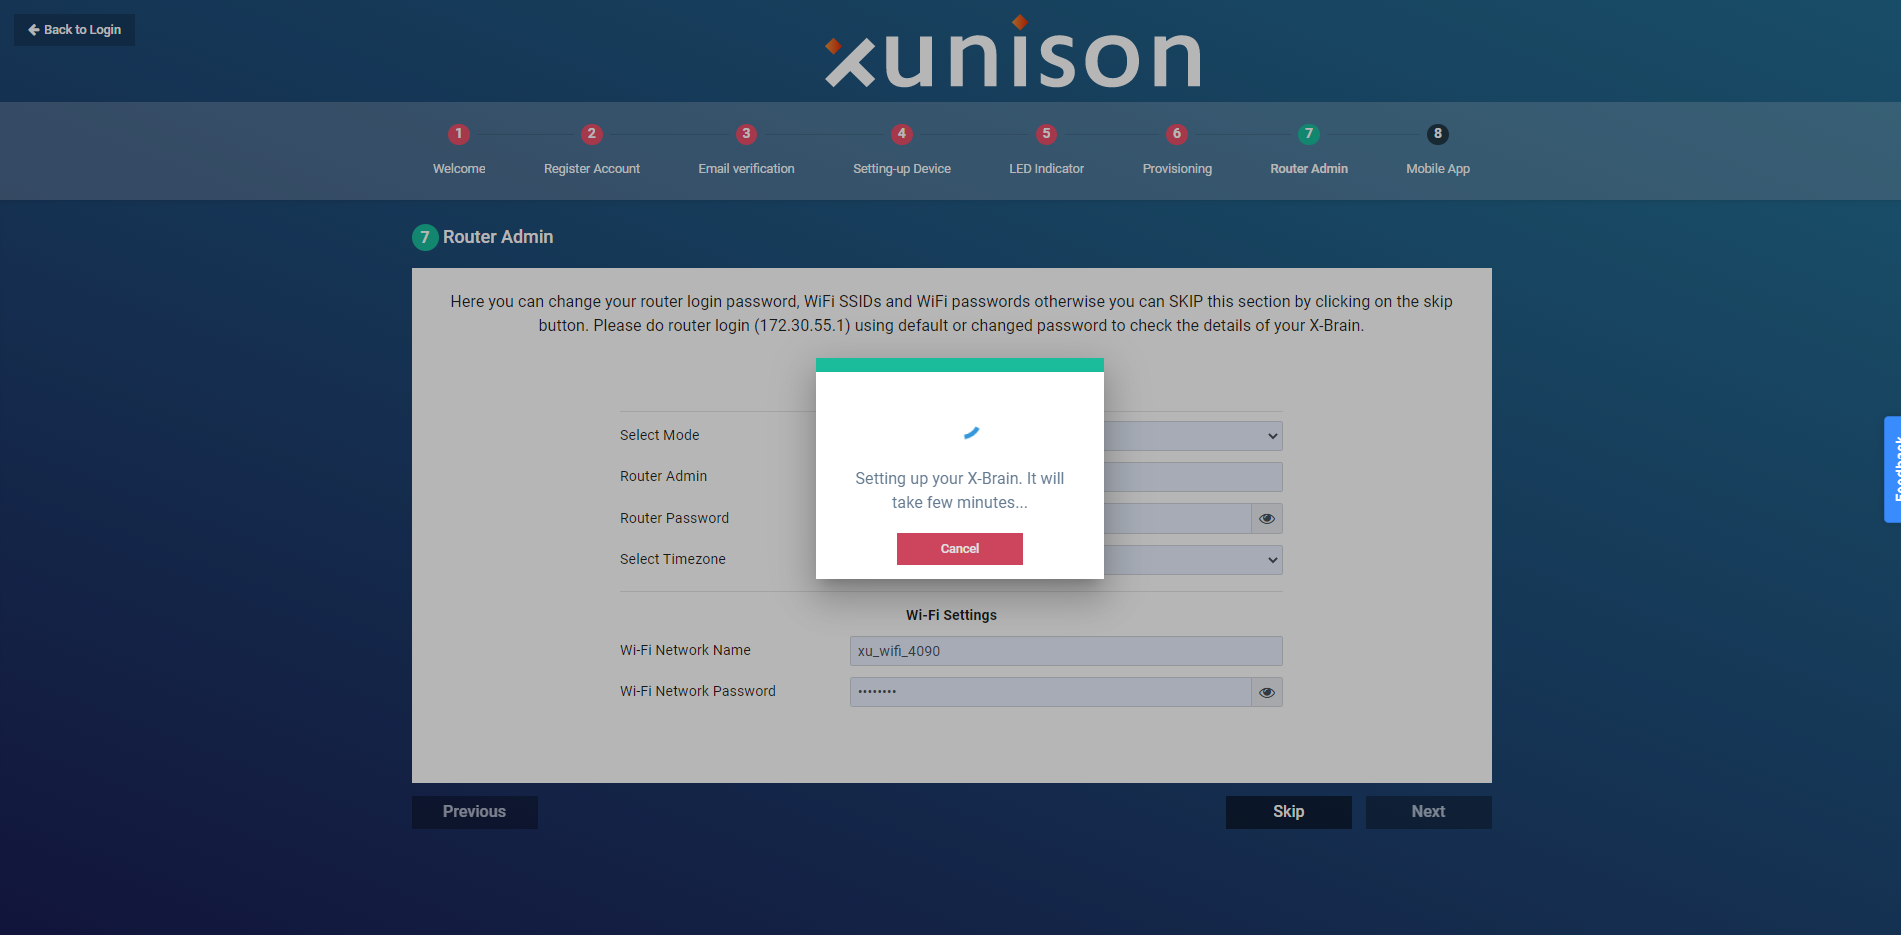
Click on the Next button.
A message appears on the screen, "Setting up your X-brain. It will take a few minutes".
Step 8: Mobile App
Scan the QR code To Install the Xunison App on your smartphone.
Click "Finish".
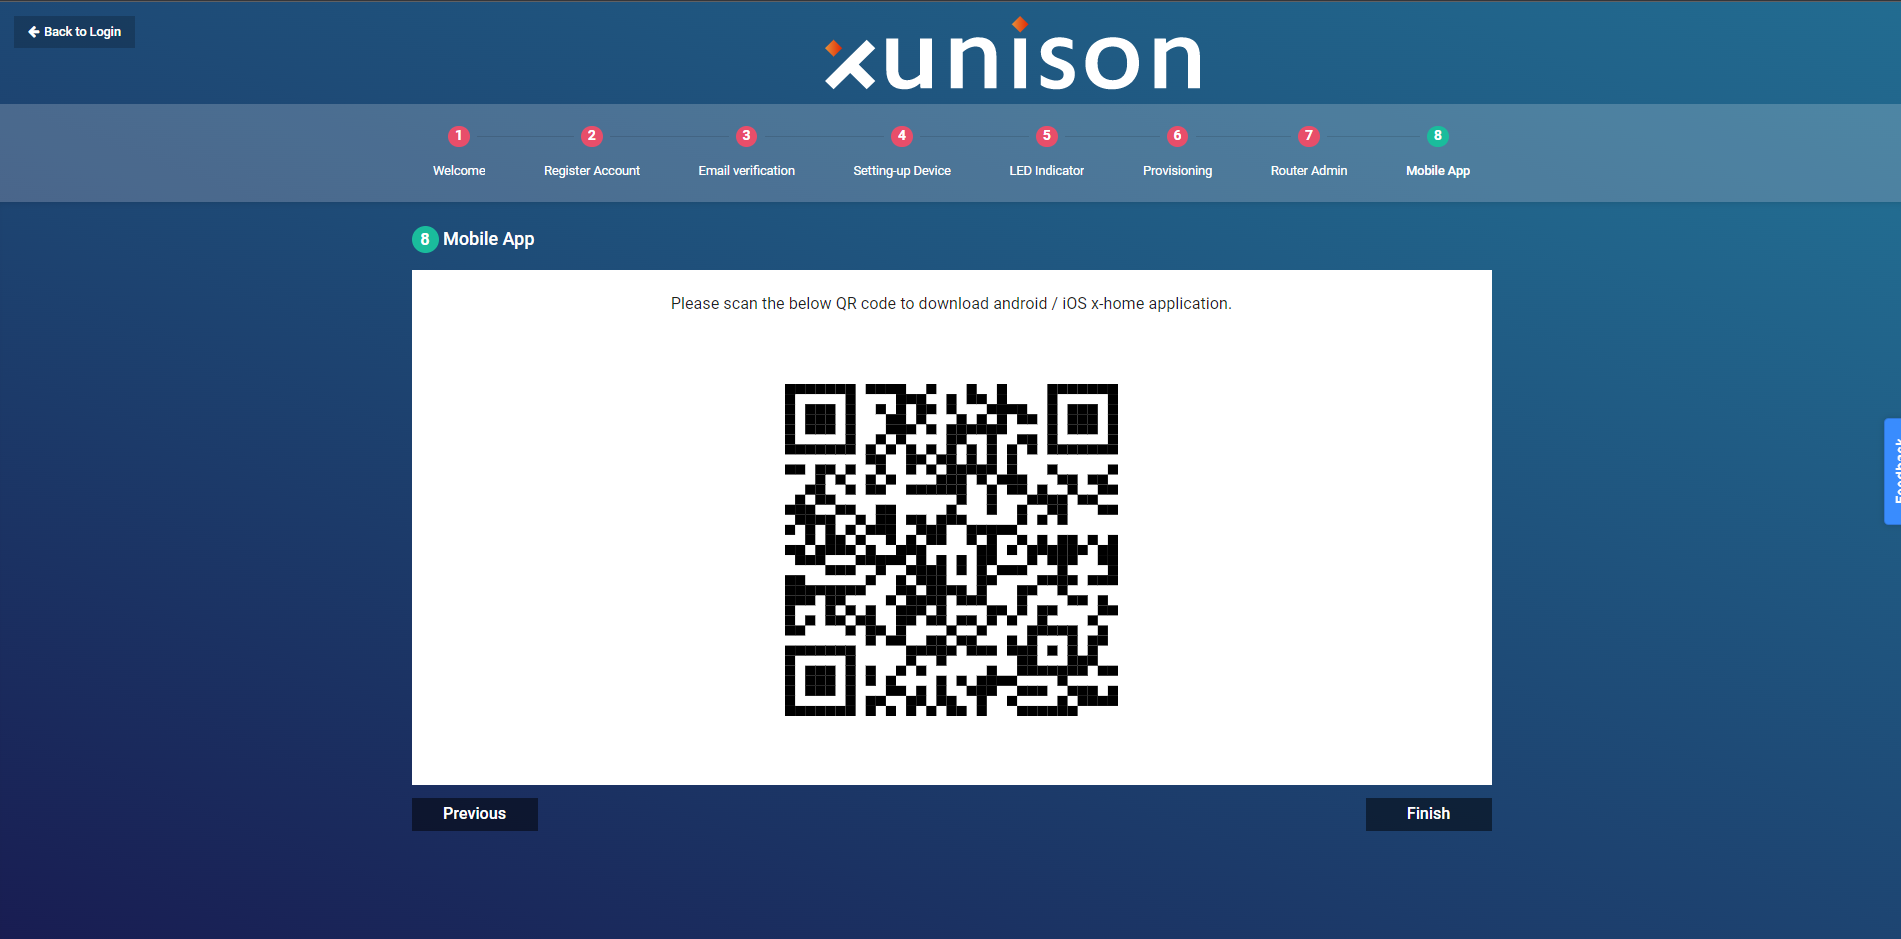
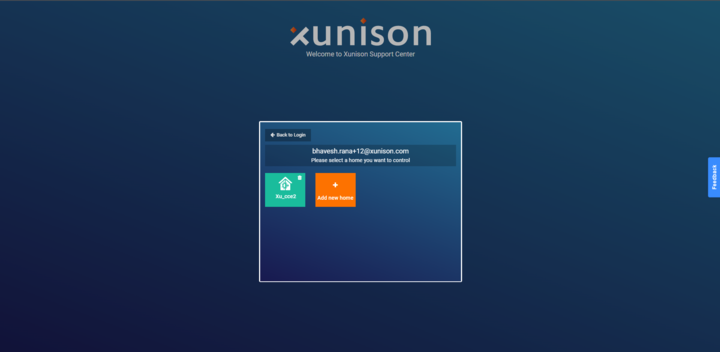
Home Gateway was added successfully.